- BY rfadmin
- POSTED IN Latest News
- WITH 0 COMMENTS
- PERMALINK
- STANDARD POST TYPE
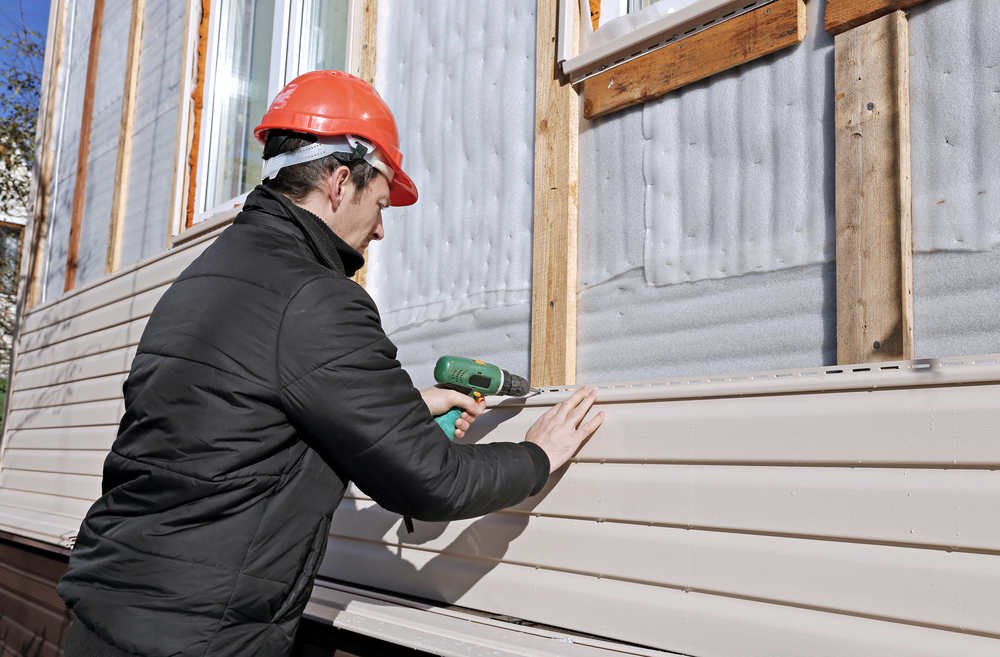
A Step-by-Step Guide to Vinyl Siding Installation
Vinyl siding is a popular choice for homeowners looking to enhance the aesthetics and durability of their homes. Installing vinyl siding can be a straightforward process when done correctly. In this blog, we’ll walk you through the step-by-step process of vinyl siding installation in Petersburg VA.
- Preparation: Before you begin, ensure that you have all the necessary tools and materials. These may include vinyl siding panels, trim pieces, nails, a hammer, a utility knife, a level, a chalk line, and a saw for cutting the siding panels to size.
- Surface Preparation: Inspect the surface of your home where the vinyl siding will be installed. It should be clean, smooth, and free of any debris or rot. Repair any damaged areas and ensure that the surface is properly waterproofed.
- Measurements: Measure the walls of your home to determine the amount of vinyl siding needed. It’s essential to measure accurately to avoid running out of materials or having excess siding.
- Trim Installation: Begin by installing the trim pieces around windows, doors, and corners. Use a level to ensure that the trim is straight and properly aligned. Trim pieces provide a finished look and help to secure the siding panels in place.
- Starting Strip: Install a starter strip along the bottom of the wall to provide a base for the first row of siding panels. This strip should be level and securely fastened to the wall.
- Siding Panels: Starting from the bottom and working your way up, begin installing the vinyl siding panels. Each panel should overlap the one below it to prevent water infiltration. Use nails to secure the panels to the wall, but leave a small gap to allow for expansion and contraction due to temperature changes.
- Cutting: As you reach the end of each row or around obstacles such as windows and doors, you’ll need to cut the siding panels to size. Use a utility knife or a saw to make precise cuts, ensuring that the panels fit snugly.
- J-Channel Installation: Install J-channel around windows, doors, and other openings to provide a clean edge and to help divert water away from the opening. Make sure the J-channel is properly aligned and securely fastened.
- Finishing Touches: Once all the siding panels are installed, add any necessary finishing touches such as trim pieces and accessories. Double-check for any gaps or areas that may need additional caulking or sealing.
- Cleanup: Remove any excess materials, debris, and tools from the worksite. Dispose of waste properly and ensure that the area is clean and safe.
By following these steps, you can successfully install vinyl siding on your home, enhancing its appearance and protecting it from the elements. If you’re unsure about any part of the process, it’s always a good idea to consult with a professional installer for guidance.
If you’re looking for roof contractors Petersburg VA, roofing contractors Petersburg VA, or vinyl siding installation Petersburg VA, contact Timothy’s Home Improvement today!